 1")


How to pair your AirPods and AirPods Pro with just about any device
Last Updated on May 16, 2022 by Admin
[ad_1]


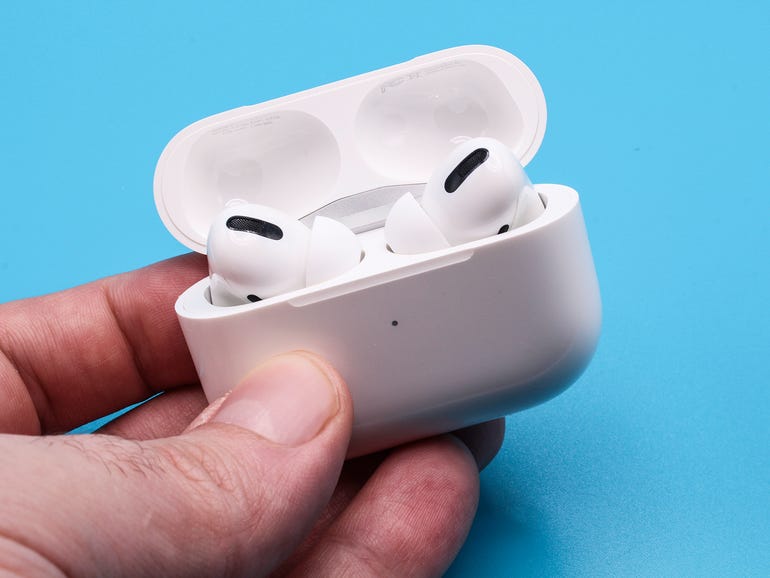
Apple’s AirPods pro. All generation of AirPod and the AirPods pro share the same pairing process.
Michael Gariffo
So you’ve got a shiny new pair of AirPods (1st, 2nd, or 3rd gen) or AirPods Pro. Now you’ve got to get them paired with your devices to start listening to your favorite music, movies, and podcasts.
If you’re using an iPhone, a Mac, or an iPad, the process will probably take a grand total of about five seconds. If you’d like to use your AirPods with a non-Apple device instead, the task of pairing them is nearly as uncomplicated.
We’ll show you how to quickly and easily connect your new truly wireless earbuds to all of the Apple devices listed above, as well as to just about any non-Apple device out there. The process is the same for every generation of standard AirPods and AirPods Pro. We’ll walk you through the little differences you’ll need to know to successfully connect them to each device type.
More: Apple AirPods 3 vs. AirPods Pro
Pairing with Apple devices

The first card will appear any time you pair AirPods already associated with an iCloud account other than your own. Once paired, they’ll gain your name, as seen in the subsequent two cards.
Michael Gariffo
iPhone
The iPhone is probably the most common audio output buddy for AirPods. Luckily, it’s also the easiest to connect. Just follow the steps below.
-
Unlock your iPhone, make sure you’re signed into iCloud, and go to your home screen.
-
With your new AirPods inside their charging case, bring the case close to your iPhone and open it.
-
You should see a welcome animation pop up within a few seconds. It will include a “Connect” button similar to the left-most card above.
-
Tap Connect.
-
From here on things will vary depending on your model of AirPods. You may be asked if you’d like to enable “Hey Siri” commands and might be offered a trial of Apple Music. All of the subsequent cards that pop up are pretty self-explanatory, and you can choose whatever offers you’d like.
-
Once you’ve reached the end of the process, you’ll see a card with a “Done” button and you’ll be presented with the right-most card seen above. Your new AirPods are now ready to use.
More: Don’t buy your AirPods from Apple! These are the best deals for May 2022
One final note: Making sure you are signed into iCloud when the process starts makes it a cinch to connect your AirPods to any Mac, iPad, or other supported Apple device that’s also signed in to the same iCloud account. You’ll likely be presented with a pop-up on each device when logging in or turning them on for the first time after you’ve paired your new AirPods. Simply hit Connect on the pop-up and you can use the AirPods to listen to the audio from any compatible Apple device.

That stealthy little circle I’m pointing to is the setup button that puts your AirPods into pairing mode. It’s in a similar place across all AirPod models.
Michael Gariffo
Mac
As mentioned above, if your AirPods were already paired with an iPhone signed into the same iCloud account you use on your Mac, chances are your entire pairing process for your Mac will consist of your clicking that conveniently provided Connect button that pops up.
However, if that doesn’t happen because you don’t use iCloud, you don’t have an iPhone, or your Mac’s the first device you’re pairing your AirPods to, the process is only a little more complicated.
In any of these cases, follow the steps below to manually pair your AirPods with your Mac.
-
Make sure your AirPods are in their case and open its lid.
-
Press and hold the setup button on the back of the case (seen above) until the status light on the front flashes white.
-
On your Mac, click on the Apple menu, then System Preferences, and finally Bluetooth. You can also access System Preferences via the gear icon you’ve likely got in your dock.
-
Your AirPods should appear in the Devices list within the Bluetooth menu. If so, just click on them and they’ll connect to your Mac.
-
Once that’s done, you’ll be presented with a few more choices about enabling “Hey Siri” functionality and certain privacy preferences.
-
Once you’ve made your decisions for each of these, your AirPods are set up and good to go.
More: Apple AirPods (3rd Generation) review: Improvements in all the right places

Jason Cipriani/ZDNet
iPad
As in the Mac section above, the process should be essentially automatic if you’ve already paired your AirPods with another Apple device on the same iCloud account. However, if you need to do it manually for any of the reasons listed above, follow the steps below on any iPad, iPad Pro, iPad Air, or iPad Mini.
-
Make sure your iPad’s Bluetooth is on.
-
Go to your home screen. Make sure your AirPods are in their case, and open the case.
-
You should see a pop-up that’s essentially identical to the one shown on iPhone above. Simply tap Connect and follow any subsequent prompts, and you’re done.
-
If this doesn’t work, you can also hold the setup button until the status light flashes white, and then find your AirPods within your iPad’s Bluetooth menu. There you’ll be able to tap them in the list of available devices and manually connect.
More: How to clean and sanitize your AirPods

Non-Apple devices
Windows 10 PCs
The process for connecting to a Windows PC really isn’t all that different than it is for connecting to a mac. Just follow the steps below and you should be up and running in less than a minute.
-
Click on the magnifying glass icon in your taskbar and type in “Bluetooth.”
-
Click on the result that says Bluetooth & other device settings.
-
At the top of the window that opens, click Add Bluetooth or other device.
-
In the Add a device window that pops up, click Bluetooth at the top.
-
The PC will begin searching for available devices to pair to. At this point, hold the setup button on your AirPods until the indicator light blinks white.
-
Your AirPods should pop up within the list of available devices within a few seconds. Simply click on it to begin pairing.
-
Once the PC finishes pairing, your AirPods should show up under the Audio section of the Bluetooth & other devices windows. Once it’s there with a Paired or Connected indicator below it, you’re done.
More: Getting AirPods Pro? Here’s why you should get AppleCare+ as well

June Wan/ZDNet
Android smartphones and tablets
The process for an Android smartphone can vary much more than any of these other processes due to the wide variety of Android versions out there across thousands of Android-based devices from hundreds of manufacturers. However, we still can provide more generalized steps below.
-
Find the Bluetooth menu for your device and look for any menu choice that mentions adding a new device, pairing a new device, or syncing with a new device.
-
Use that option to put your device into pairing mode.
-
Press and hold the setup button on your AirPods until the indicator light on the front blinks white.
-
Look for the AirPods to show up in the list of available devices on your Android device.
-
Tap the AirPods’ name, or any connect button associated with them.
-
That should do it. Don’t be surprised if you’re presented with a couple more dialogue boxes to complete. Simply read carefully, and you should be listening to audio in seconds.
[ad_2]
Source link